

Ooooooh.
I love cheesecake.
It's pretty odd how much I love cheesecake, considering that I'm not a fan of cold cheese...but I guess cream cheese is in a category of its own.
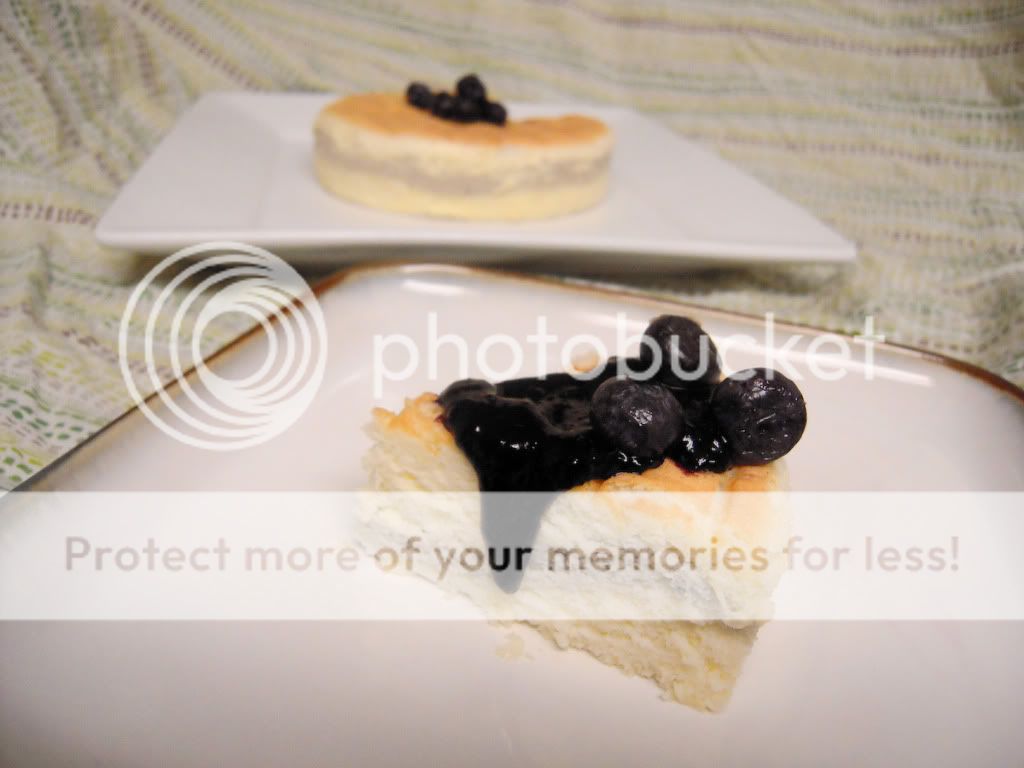
Japanese cheesecake is the child of a beautiful affair between cheesecake and sponge cake, haha. It's so light and fluffy, but still manages to taste like cheesecake, and even have that same creaminess.
I tried to make it once before, but that was a flop. I don't quite remember what was wrong, but trust me...it was wrong. XD
Anyhoo, I'm not feeling too well today :( so I'm just gonna get right to the pictures and the recipe.

 (just to show you my tin floating in its bath, haha)
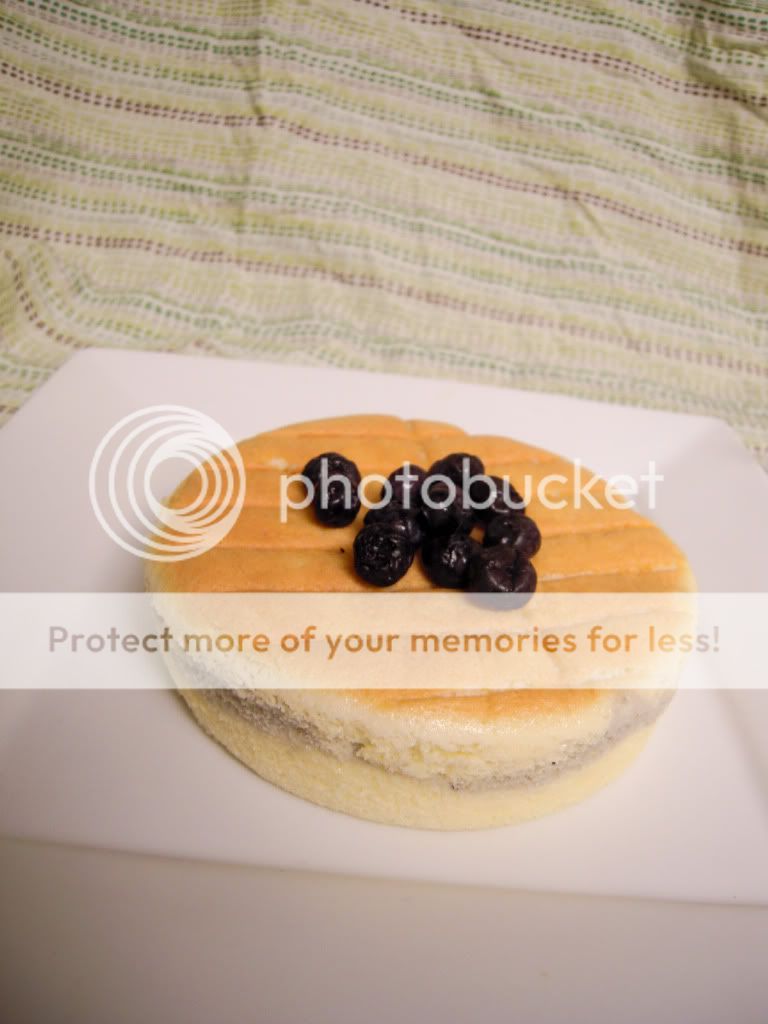
Japanese Cotton Cheesecake w/ Blueberry layering:
4 ounces of room temperature cream cheese.
1.5 tablespoons of butter
2.5 tablespoons of heavy cream
1/2 cup of granulated sugar
3 eggs, separated
1/4 teaspoon of cream of tartar
1/3 cup of flour
1 tsp baking powder
2 tablespoons of blueberry sauce (literally just cook and squish the berries over medium heat, and strain)
Place a tray in the oven, filled with an inch of water, large enough to hold your pan. (I used a 6 inch pan for this recipe). If you're using a springform pan for your cheesecake, be sure to wrap the outside in foil so the water doesn't seep in.
Melt the butter and cream cheese with the cream over medium-low heat, stirring occasionally. Stir until it's completely smooth, then set it aside to cool.
Once it's cool, whisk in the yolks.
Mix the flour and baking powder into the cream cheese mixture, being careful to not overmix it.
Depending on how much of the blueberry you want, divide the batter into 2 (i did 1/3 and 2/3), and mix the blueberry sauce into one part.
Meanwhile, whisk the egg whites with the cream of tartar until frothy. Then add the sugar, a few tablespoons at a time, while whisking the egg. Continue until the whites are medium peaks. Fold the egg white into both mixtures, and pour it into the pan. (I did half of the plain, then the blueberry, then the rest of the plain)
Carefully set the pan into the hot water bath, and bake it for 50-60 minutes. Don't open the oven until it's close to ready! When you think it's ready, the top should be a nice brown, and do the toothpick test (stick a toothpick in the middle of the cake, and if it comes out clean, you're good)
Immediately turn the cake out onto a cooling rack and let it cool for 30 minutes. Then wrap it and place it in the fridge until you're ready to serve it.
Serve with whipped cream and/or extra blueberry sauce. (I think the unsweetened juice is a really nice contrast to the sweet cake :D )
Monday, October 11
Blueberry Japanese Cheesecake
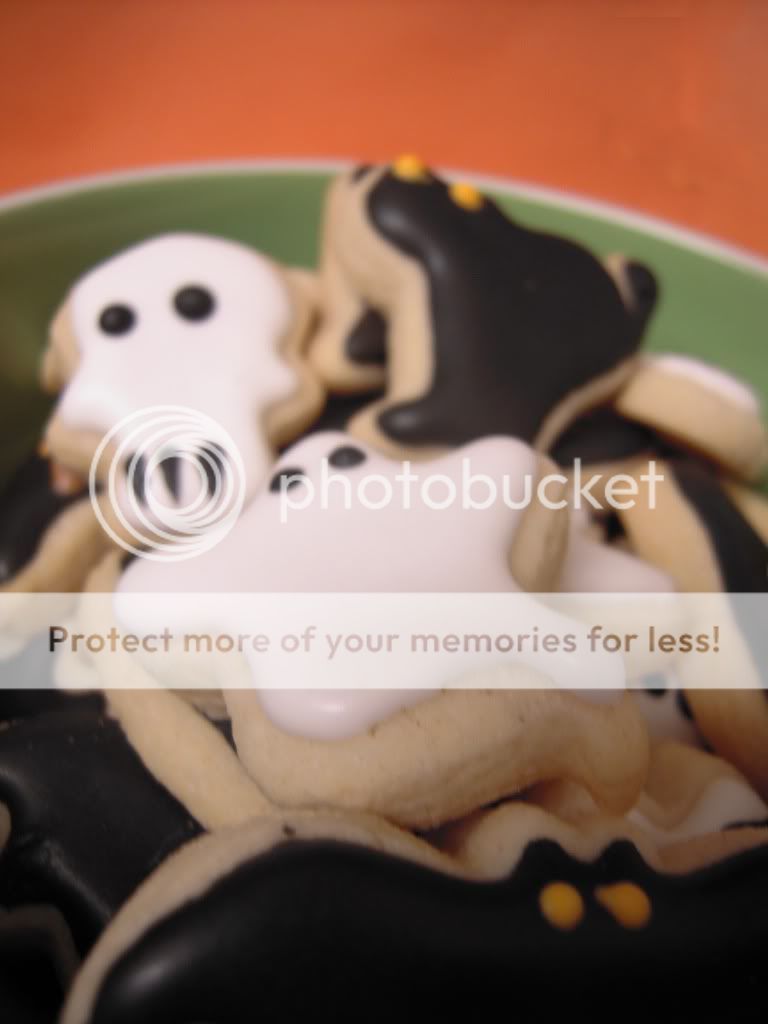
Saturday, October 9
Mini Fall Cookies!
So the muffins were good...still not exactly what I was looking for in a muffin, so I'll hold off on posting those for now.
Buuuuut, I do have more cookies to share!
These are mini cookies shaped like oak leaves, maple leaves, pumpkins and acorns.
I have learned, through a couple of days of decorating mini cookies, that they are 5 billion times more work than regular cookies. So much less room to work on, and just so /many/ to do in the first place.
But they're so cute! So I think I'm going to have to get mini cutters for every season...like I don't have enough cookie cutters as it is...my storage drawers are almost full, haha.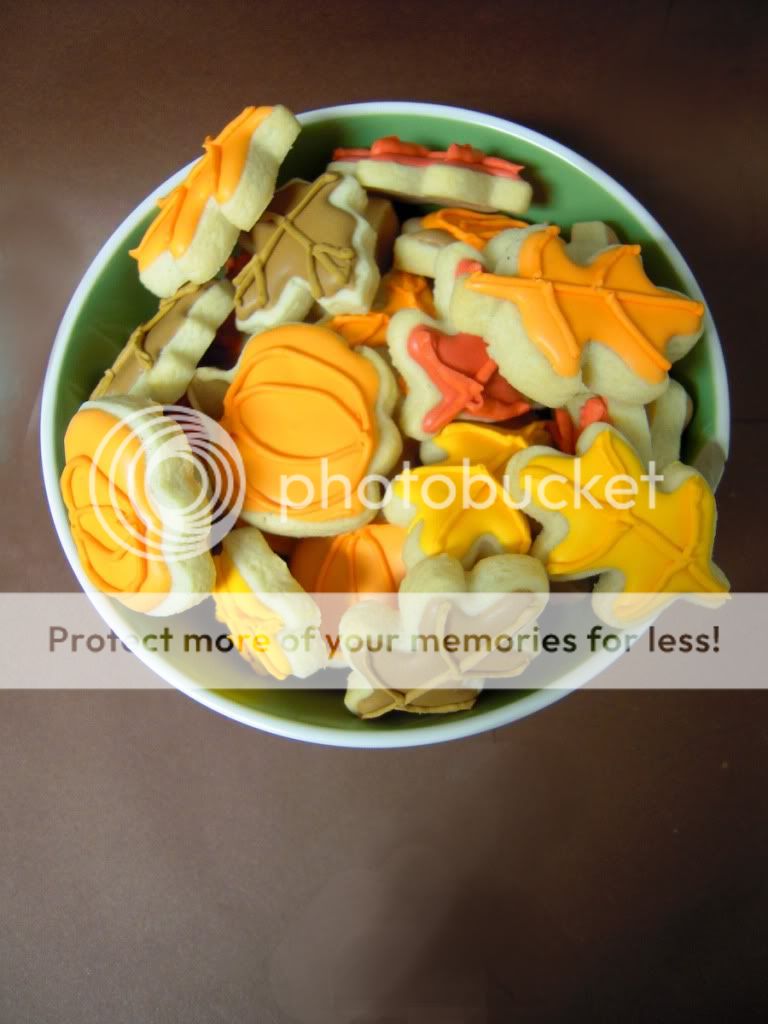


Just like the Halloween ones, you can make 'em yourself
or I can make them for you :)
I am worn out. Hahaha.
Friday, October 8
Mini halloween cookies
I know, I know, I'm horrible.
T_T
I've been so busy with school and my etsy store that I hardly have time (or money!) to bake for myself, or for the blog.
I apologize...and I bring you an offering!
Yummy mini Halloween cookies!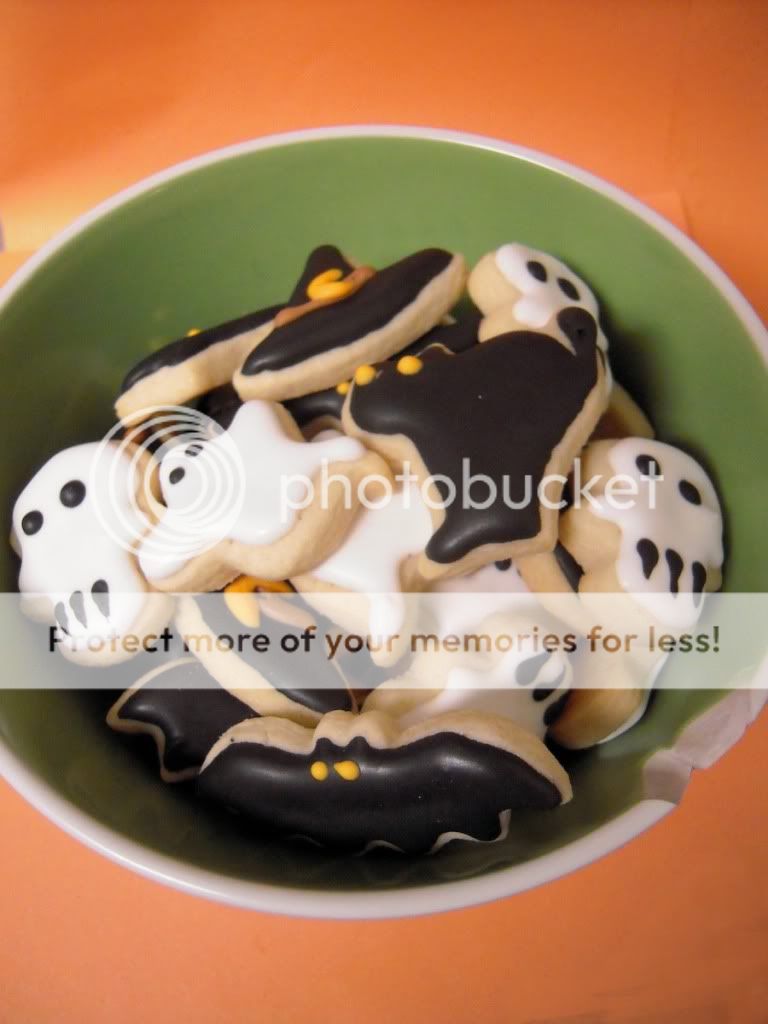
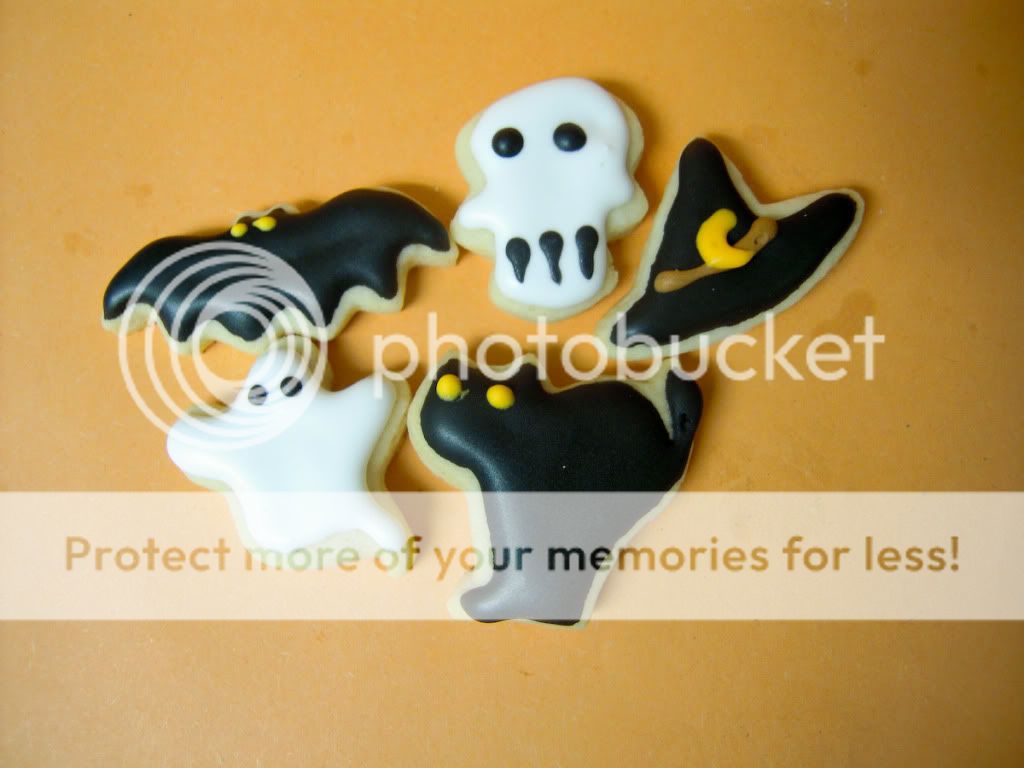
Recipe is here, if you wanna take a stab at them yourself.
Iiiiiiiif you're not up to that, you can buy them from me!
Mini Halloween Cookies @ flour on her nose on Etsy
I should have a post about blueberry muffins (yuuum!) up tomorrow...sorry I've been such a bum, hahaha. :P

