


Besides the fact that I'm channeling a fictional professor...
This coming weekend...
I'm getting a new camera!
I get to go home to do some various things, and so I'll have a chance to use the Penn Camera gift card I got for my birthday. Wooooh!
And because I don't like posts without pictures, here's a painting I did on Friday XD
Yaaaaay! :)
Also, I hope you'll all be proud of me for biking at least 3 miles a day. My goal is to get to the nearest shopping center, which, round trip, is 7 miles. My thighs burn XD
So yeah, I'll be back with regular food posts next week...which is great because I've been coming up with a few dishes I really wanna share with you guys. :)
Sunday, August 30
Good news, everyone!


Saturday, August 29
Daring Bakers - Dobos Torte
Heyoooo, it's that time of the month again...(albeit a little late)....Daring bakers!
The August 2009 Daring Bakers' challenge was hosted by Angela of A Spoonful
of Sugar and Lorraine of Not Quite Nigella. They chose the spectacular Dobos
Torte based on a recipe from Rick Rodgers' cookbook Kaffeehaus: Exquisite
Desserts from the Classic Caffés of Vienna, Budapest, and Prague.
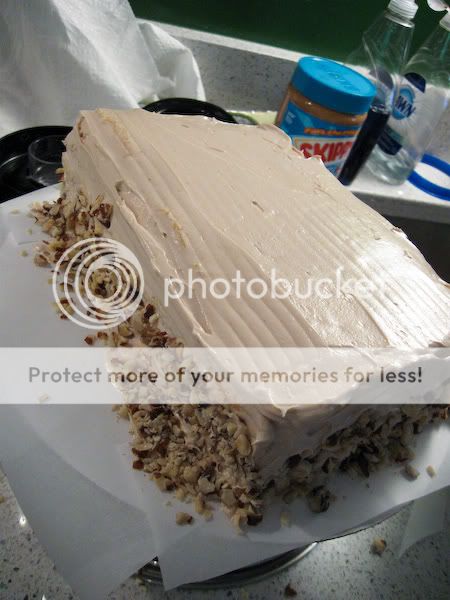
So basically the Dobos Torte is a sponge layer cake, layered with buttercream, and topped with caramel-coated pieces of cake.
The torte itself was really easy, but man...that caramel piece gave me sooo much trouble.
Yolks and sugar
Lightened
Folding




Onto the recipe!
Dobos Torte:
Sponge layers:
6 large eggs, separated
1 1/3 cups of powdered/confectioner's/icing sugar
1 tsp vanilla
1 cup of flour
Pinch of salt
Preheat oven to 400 degrees Fahrenheit
Either do a lot of work and line 6 round pans with parchment paper, or do what I did, and line a half-sheet pan with parchment paper. XD
Beat the egg yolks and 2/3 of a cup of the sugar until it's thick and lighter in color.
In another bowl, whip the egg whites until soft peaks form. Beat in the rest of the sugar and beat until stiff, shiny peaks form.
Fold the egg whites into the yolks.
Slowly fold in the flour and salt.
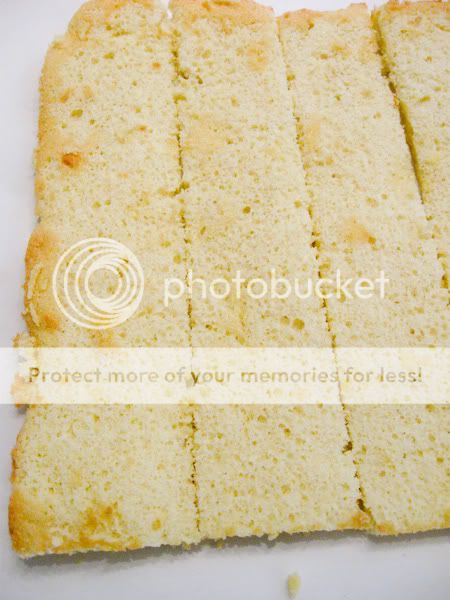
Spread a thin thin thin layer of the batter into the pan. Make sure it's even on top. (you can put another layer of parchment paper on top and press a similar pan over that...if you get what I'm saying...to even it out XD)
Then bake for about 5-10 minutes, or until the cake is slightly browned on the edges.
Slice and/or halve as you please. (it depends on what shape/size/how many layers you want)
Buttercream:
I know you all know this recipe by heart now, right? :P
Caramel :
1 cup of granulated /caster/superfine sugar
12 tbsp water
8 tsp lemon juice
1 tablespoon of NEUTRAL oil.
Reserve one of the cake layers
Copypasta recipe!
"1.Choose the best-looking cake layer for the caramel top.
To make the caramel topping: Line a jellyroll pan with parchment paper and butter the paper.
Place the reserved cake layer on the paper. Score the cake into 12 equal wedges. Lightly oil a thin, sharp knife and an offset metal spatula. 2.Stir the sugar, water and lemon juice in a small saucepan.
Bring to a boil over a medium heat, stirring often to dissolve the sugar.
Once dissolved into a smooth syrup, turn the heat up to high and boil without stirring, swirling the pan by the handle occasionally and washing down any sugar crystals on the sides of the pan with a wet brush until the syrup has turned into an amber-coloured caramel. 3.The top layer is perhaps the hardest part of the whole cake so make sure you have a oiled, hot offset spatula ready.
I also find it helps if the cake layer hasn't just been taken out of the refrigerator.
I made mine ahead of time and the cake layer was cold and the toffee set very, very quickly—too quickly for me to spread it. Immediately pour all of the hot caramel over the cake layer. You will have some leftover most probably but more is better than less and you can always make nice toffee pattern using the extra to decorate. Using the offset spatula, quickly spread the caramel evenly to the edge of the cake layer. Let cool until beginning to set, about 30 seconds. Using the tip of the hot oiled knife (keep re-oiling this with a pastry brush between cutting), cut through the scored marks to divide the caramel layer into 12 equal wedges. Cool another minute or so, then use the edge of the knife to completely cut and separate the wedges using one firm slice movement (rather than rocking back and forth which may produce toffee strands). Cool completely."
Assembly is simple.
Cake layer, buttercream, rinse, repeat.
Then top with the caramel in whatever fashion you choose.
I sprinkled ground hazelnuts on each layer, and pressed chopped nuts around the base of the cake.
Refrigerate the cake, but let it come to about room temperature before cutting.
Wednesday, August 19
New Apartment!
So on Saturday, I moved into my new apartment. Logically, there hasn't been a whole lot of cooking/baking.
Today, I managed to both bake AND cook, and guess what.
My camera hates me.
I went to the James River yesterday, slipped on a rock, and fell in. My camera was in my bag. It works, the but the screen is all wonky. Tomorrow, after my classes, I'll hopefully be able to go to the camera store and see if they can fix it. Until then, no pictures...unless I get desperate and use my cameraphone (Which is actually decent).
Here are fun pics of my apartment, just because I feel weird not posting pictures. XD
My kitchen! :D
I painted my mini-fridge with chalkboard paint.
My room (before I cleaned it) and my power rangers towel :D
My plants.
MY VENUS FLYTRAP!!!
So yes. flour on her nose has officially relocated to Richmond, Virginia. I live next to a Kroger ( the longest part of the walk is across the parking lot) and classes end at 4 at the latest. Plenty of time to cook. I think I'll also expand to mini-reviews of local food places...first up will definitely be the Village Cafe and their AMAZING shakes (and awesome french fries)
Stay tuned :)
Sunday, August 9
Inspiration tastes like rainbows...and bread.
Today, I was supposed to be cleaning up/packing/organizing for the move into my apartment next Saturday. To give you an idea of the task at hand, I came home from school, dumped my bags in the game room, and, 3 months later, there they are. I've made marginal progress, but that's okay, since I'm a last minute kind of girl, Thursday and Friday will be frantic and I will be incredibly productive. In my journey to procrastinate, I decided to make something bread-related. Because, you see "it has to rise, and rise again, and probably a third time!". I am an excellent time waster.
Originally, I'd planned to make cinnamon rolls, but my father bought some the other day, and they're still sitting on the dining room table. "Okay," I said to myself "...what the heck am I gonna do?". Sooooooo I perused the internet (the whole internet) and found that panda bread that had been going around. "THAT'S IT!". Except I didn't want to do the panda...I wanted to do my own design. After much thought, I decided upon a rainbow...because the shape is technically easy, and the colors would be great! I really want to try other designs in the future
And so I set out to do it.
Unfortunately, the final product didn't rise as much as I'd like, but that's something that can be ironed out in the future...it was still tasty.

My hand after kneading all of the color in XD
Bread pre-final rising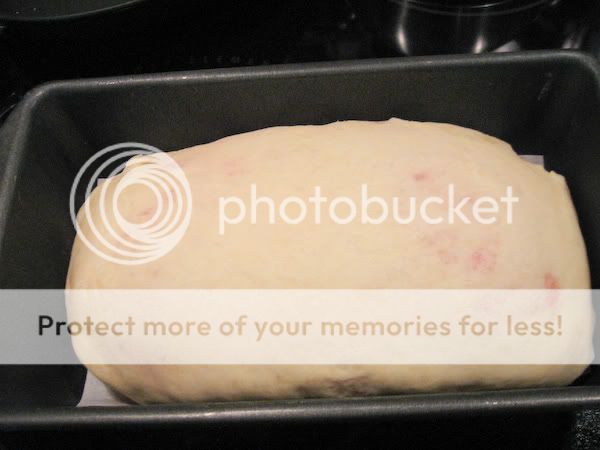
After final rising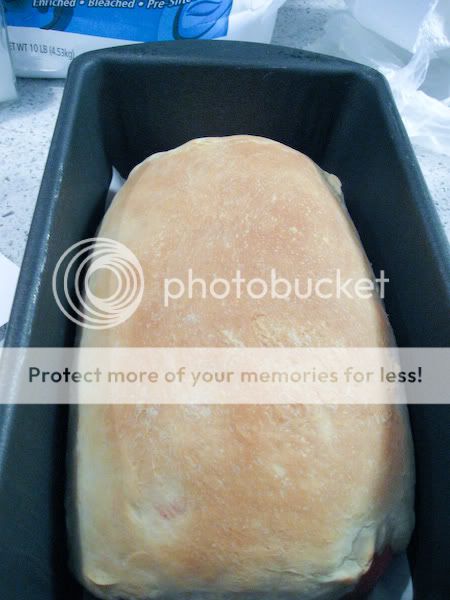
Fresh out of the oven
Rainbow bread:
1 1/4 cup of flour (bread flour/high protein flour's best)
2 tbs cornstarch
1 egg yolk + enough milk to equal 3/4 of a cup
2 tbs soft butter
1 1/2 tsp yeast
1 tsp sugar
1 tsp salt
I like to go ahead and preheat my oven to 400 Fahrenheit now, to make the kitchen nice and warm.
Whisk together the milk and egg yolk, and heat to about 100 degrees
Combine flour, cornstarch and salt
Activate the yeast in the milk/egg mixture, add sugar and let sit for about 5 minutes and then add to the flour, along with the butter. If you have instant yeast, just add the yeast, milk/egg and sugar to the flour straightaway.
Mix together, then dump out and knead until it's not all gross and sticky anymore.
Here's the fun stuff.
Divide the dough into 7 pieces , with one at least twice as big as the rest. The other six shouldn't all be the same size...they should get progressively smaller or bigger.
Add the coloring to the 6 small pieces (for a rainbow, purple should be the smallest, and red the biggest), and knead.
Cover the pieces separately and let the rise for about 30 minutes
Punch down the dough and let rise for another 20 minutes.
Now for the assembly.
Cut a piece of parchment paper the size of the bottom of your loaf pan.(I think mine's like 8x4x4 or something)
Take about 1/3 of the uncolored dough and roll it into a cylinder the length of the parchment paper. Stick it right in the middle.
Take the purple, roll it out into a rectangle and drape over the plain cylinder. Repeat with the rest of the colors, and the rest of the uncolored dough.





Stick that in the loaf pan and let it rise for at least another hour, in a nice warm place (like on top of the stove!)
Bake for 25-30 minutes, or until the top is nice and brown.
Let cool, cut, enjooyyyyy
Subscribe to:
Posts (Atom)


